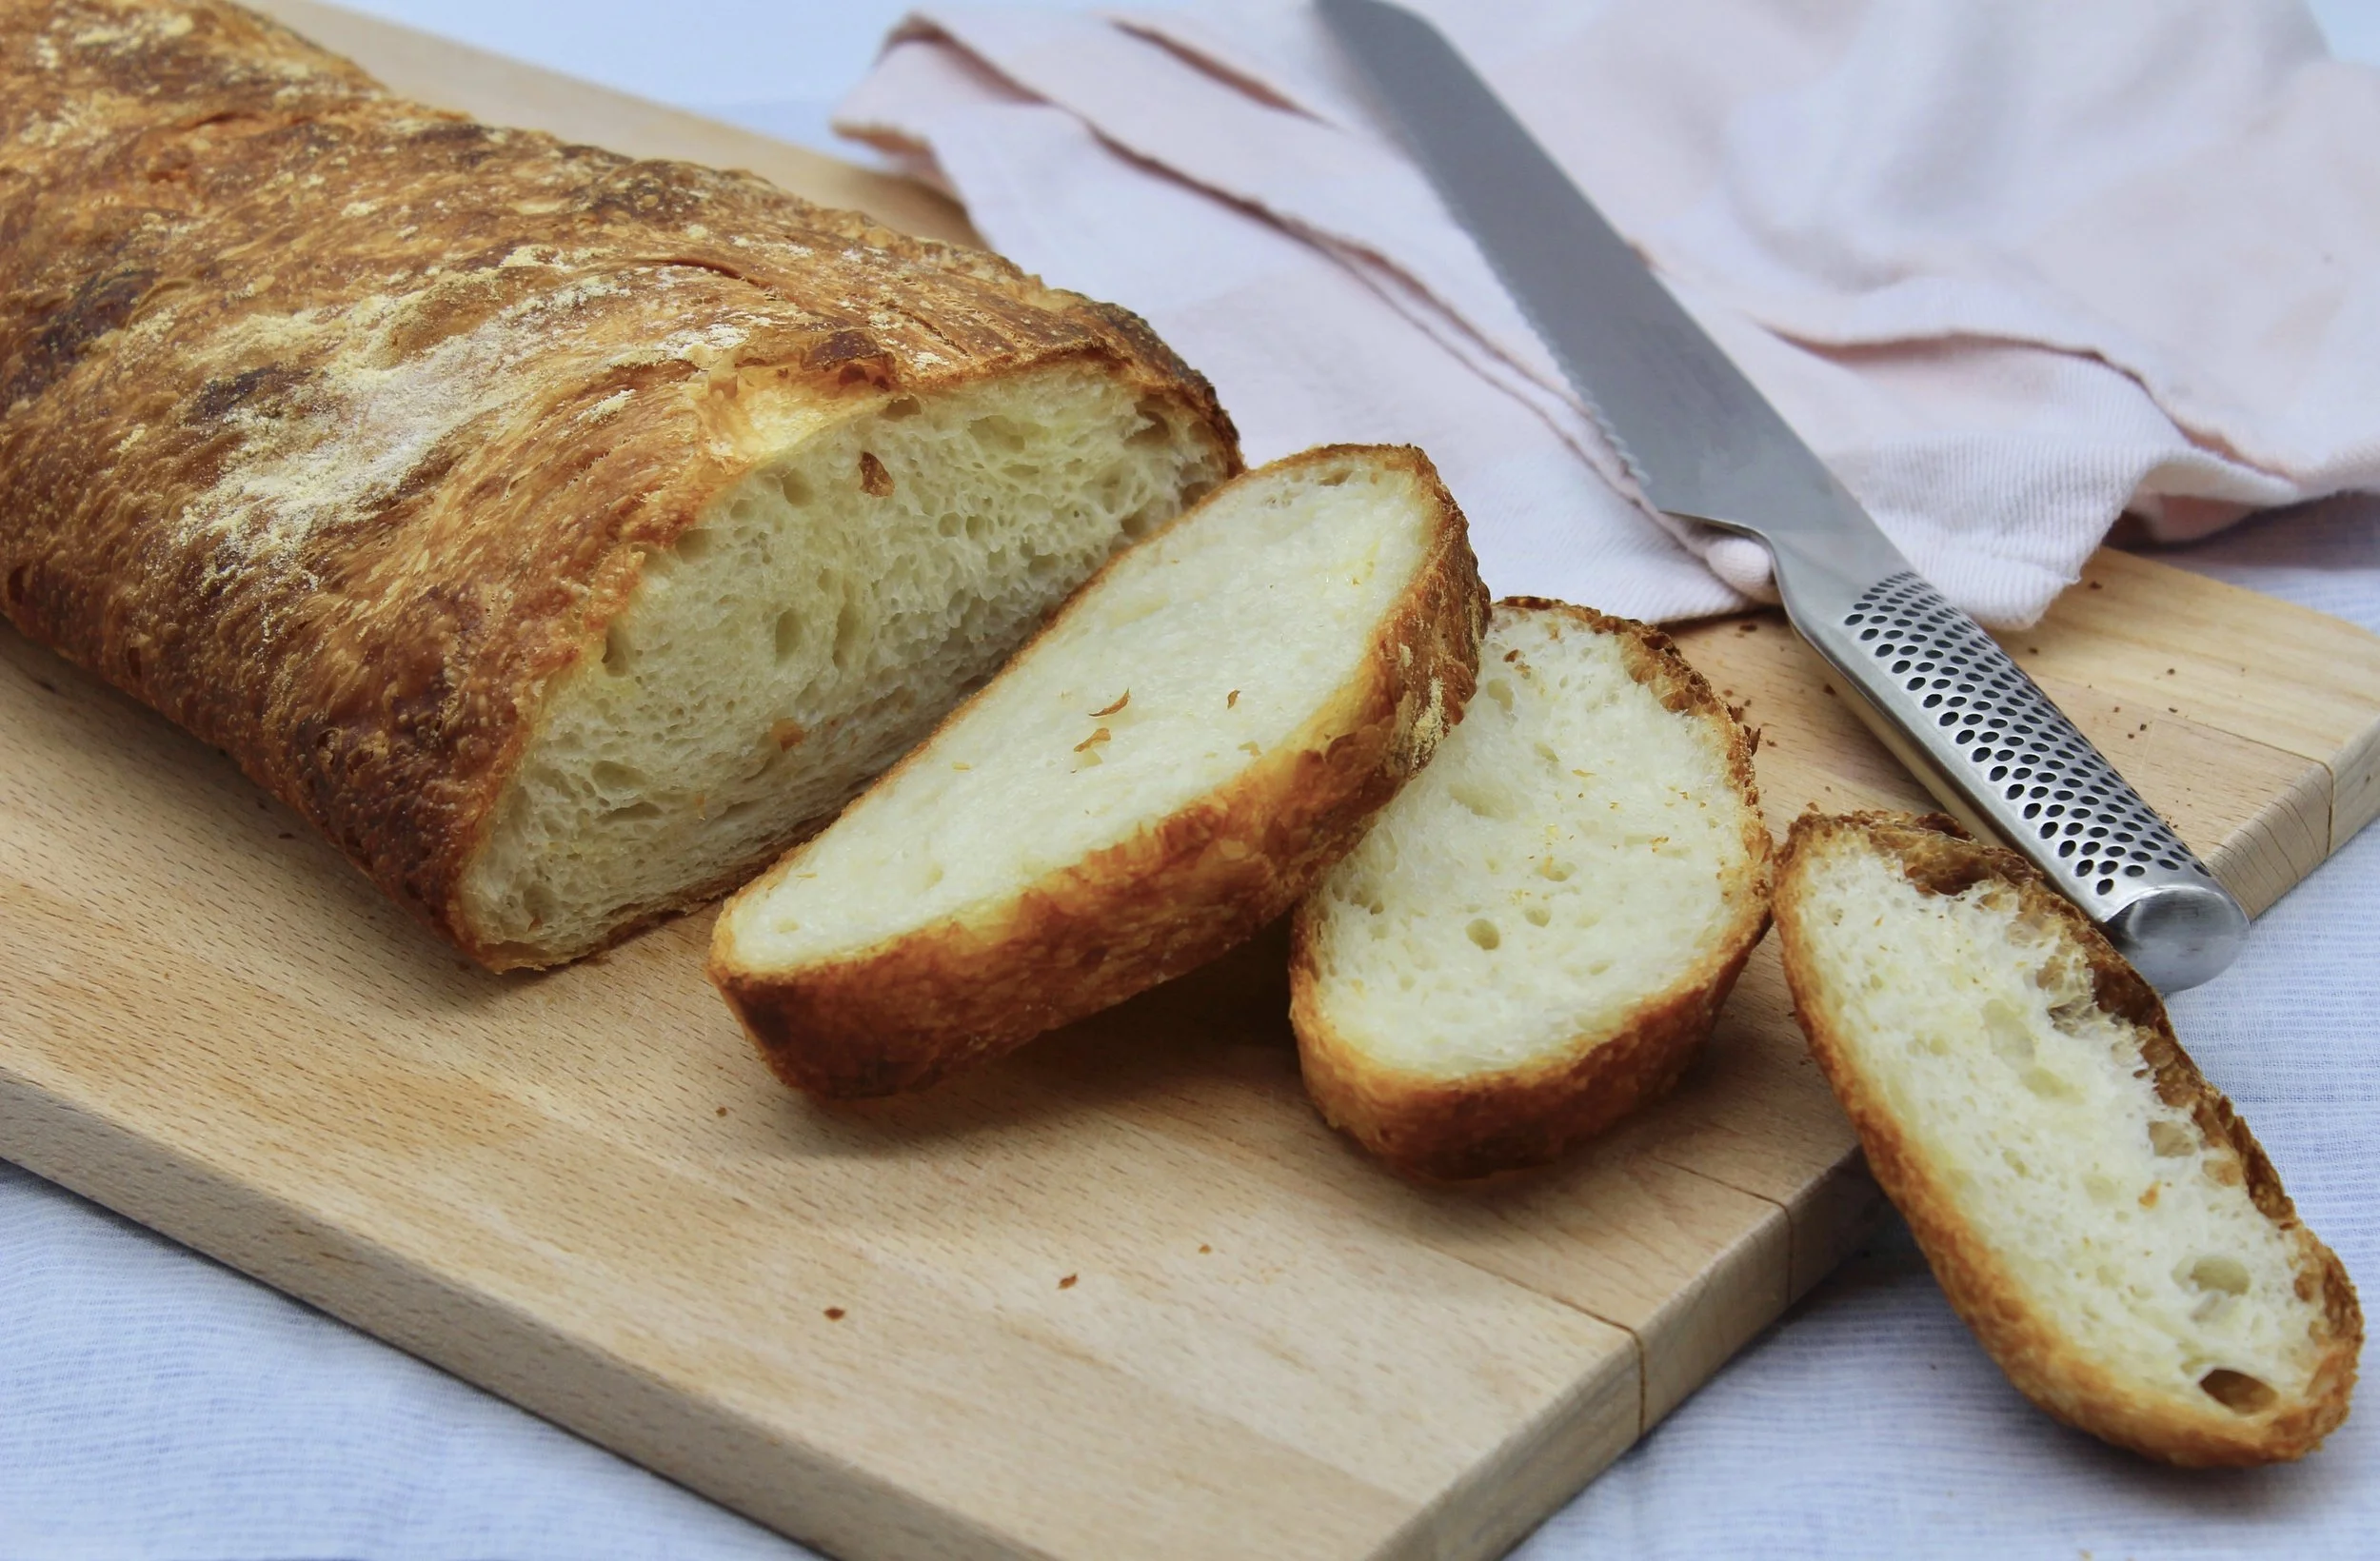
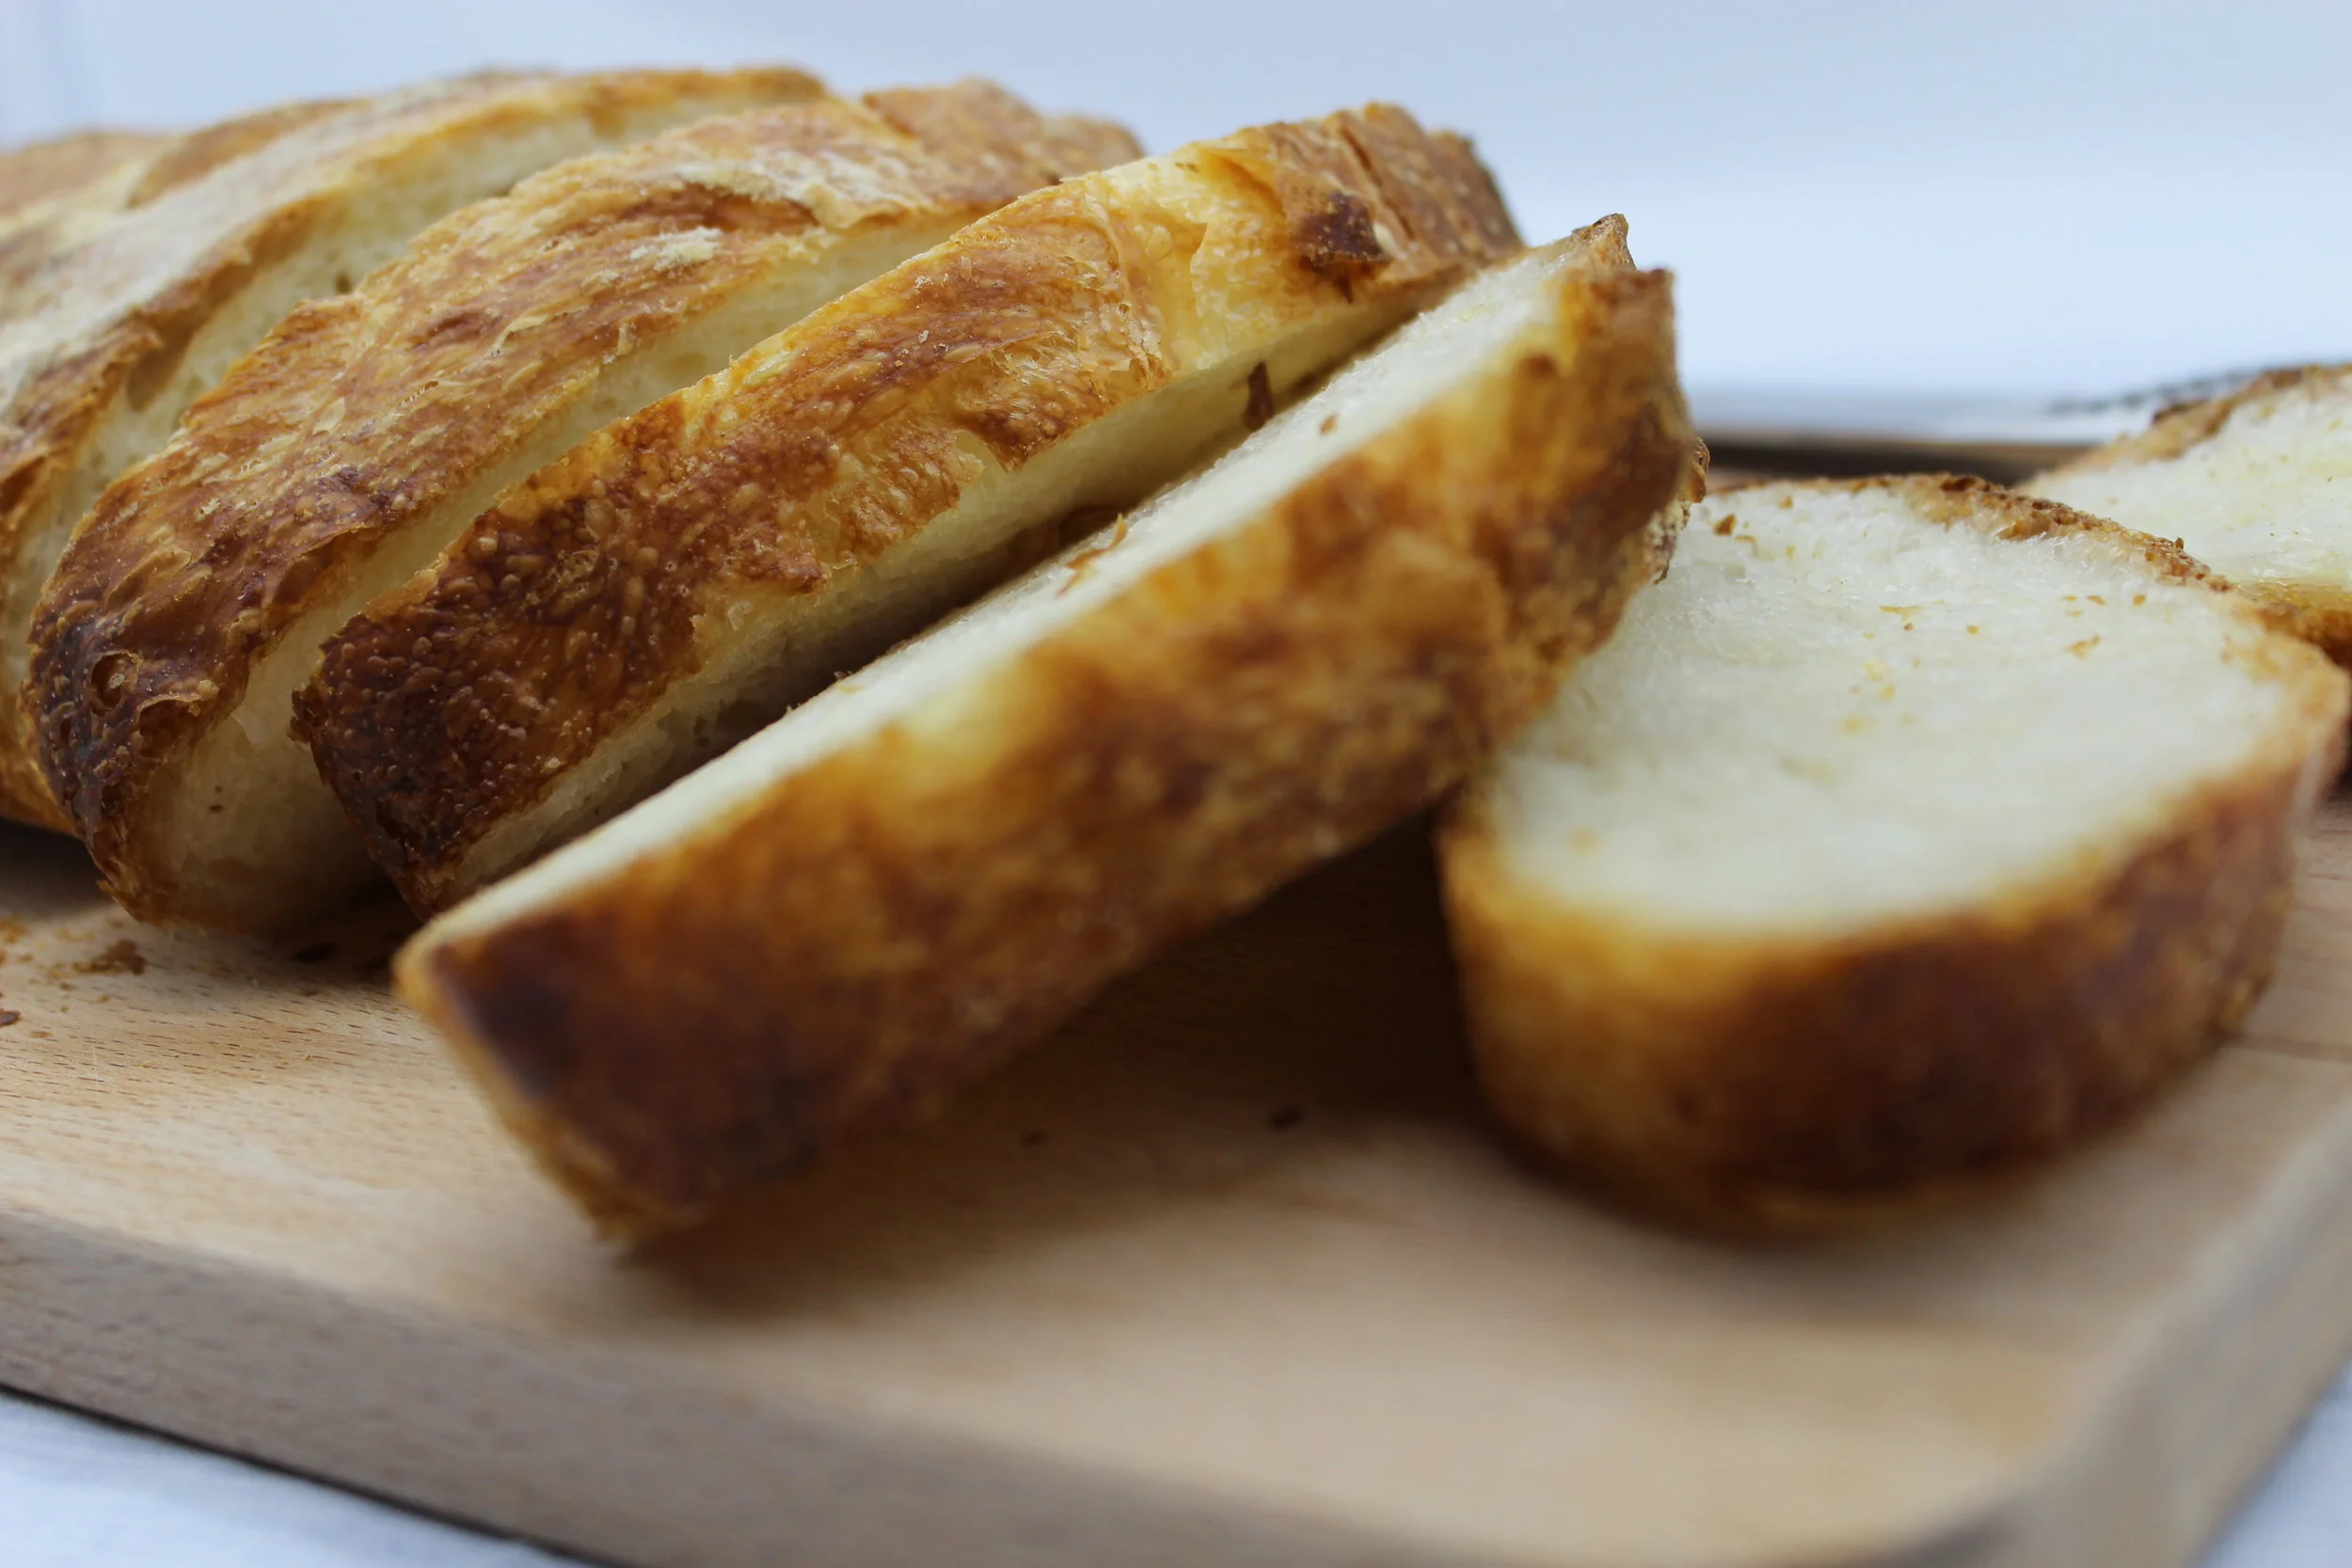
Cheat's Ciabatta
I’d be lying if I said that bread was something I could live without. Trust me, I’ve tried to live without it, dabbling in the gluten free movement that has swept western society of recent years. But, I JUST CAN’T DO IT!! Seriously, is there anything better than the smell of homemade bread cooking in the oven? And then of course comes the torturous wait before you can cut off that delectable crust and slather it with salty butter and savour the taste and texture. I find it wondrous that 4 simple, staple ingredients can produce such a wonderful morsel capable of invoking such emotion. Bread is, and will continue to be, my guilty glutenous pleasure!
Now, a word for the purists out there……this is by no means a true Ciabatta and doesn’t follow the traditional method, however, it offers a close result and is super easy! All you need is a sturdy mixer (this part is important, ok?) The dough will need to mix for at least 10 mins at high-ish speed - so make sure your mixer can cope! As the dough is mixing and gets more elastic, the mixer is going to start jumping around, so make sure you’re there to hold it down (or turn the speed down if necessary). I made the mistake of walking away from it once and my KitchenAid literally leapt off my kitchen bench. KitchenAid =1 / Tiles = 0. Don’t say I didn’t warn you!
Finally this recipe was inspired by one I found on The Fresh Loaf website, called Jason's Quick Coccodrillo Ciabatta Bread using a formula by Jason Molina. I’ve used the same hydration (flour:water ratio) but have gone super lazy on the method.
Give it a go - making your own bread is so easy (and so satisfying)!
Cheats Ciabatta
makes 1 loaf | prep + cook time = 1 1/4 hours + 2.5 hours resting time
Ingredients
500g bread flour
475g lukewarm water
2 tsp instant dried yeast
12g salt
Method
In a stand mixer bowl add all ingredients together and, using a dough hook, start mixing on slow speed (so as to avoid a flour cloud!). As the flour becomes incorporated increase the speed of your mixer. At this point the dough is going to look incredibly wet and sticky, however, do not be tempted to add more flour! Increase the speed of your mixer until it is close to the highest speed. As you are mixing you will see the gluten begin to develop and the dough will eventually start coming away from the sides of the bowl - as if it is ‘cleaning’ the bowl. As the gluten develops however, you are going to find the mixer will start jumping around a bit - if this happens, turn the speed down to a more manageable setting. I find speed 6 or 8 on my KitchenAid works well, but I do have to hold it the mixer down towards the end. With my KitchenAid, I find the whole process takes around 15 mins. The dough is ready once it has come away cleanly from the sides of the bowl and you can see the elasticity in the dough.
Once the dough is ready, scrape it (or pour it - it’s very gloopy!) into a well oiled bowl (big enough for the dough to triple in size without overflowing). Cover it with a damp tea towel, or cling film and place in a warm spot for around 1-2 hours (this time will depend on how warm it is in your house - whatever the case, the dough needs to triple in size and it will look very gassy with lots of bubbles on top).
Meanwhile, line a baking tray with baking paper and oil the paper well (oil the entire area - this dough spreads!). When the dough has tripled in size, scrape it out onto the tray and, using well oiled fingers, pinch the sides of the dough and pull the sides over towards the centre and kind of cross them over one another. Do the same with the ends. This action just tightens the dough up a bit and also forms the rough shape of your loaf (a rectangle). Now leave it for 30 minutes to proof again.
Whilst your loaf is proofing, preheat your oven to 230C. Once the dough is ready, you will find it has spread considerably again. Using oiled fingers use the same cross over method to just tighten and tidy up the loaf and then straight into the oven for around 40 mins until it is a dark golden brown.
Allow the loaf to cool for at least an hour if you can. This is hard, but very important! The steam needs to dissipate and something called starch retrogradation is taking place. We don’t need to go into what that is here but just trust me - if you cut into it hot, you will risk ending up with a doughy, sticky loaf!
Now off you go, try it!
Mel xoxo


